E-learner´s handbook
Video lectures and video recording
Video lectures of an e-course are generally located outside Moodle (in Panopto, UTTV, or YouTube) and have been linked or embedded to the e-course. Most videos have been recorded in Panopto.
Viewing videos in Panopto
NB! From September 2024, Panoptos will archive videos that have not been watched in the last 13 months. If the e-course you are studying has some videos in an archived state, as a user logged in to Moodle you have the option to restore these videos from the archive. Recovery takes a maximum of 48 hours.
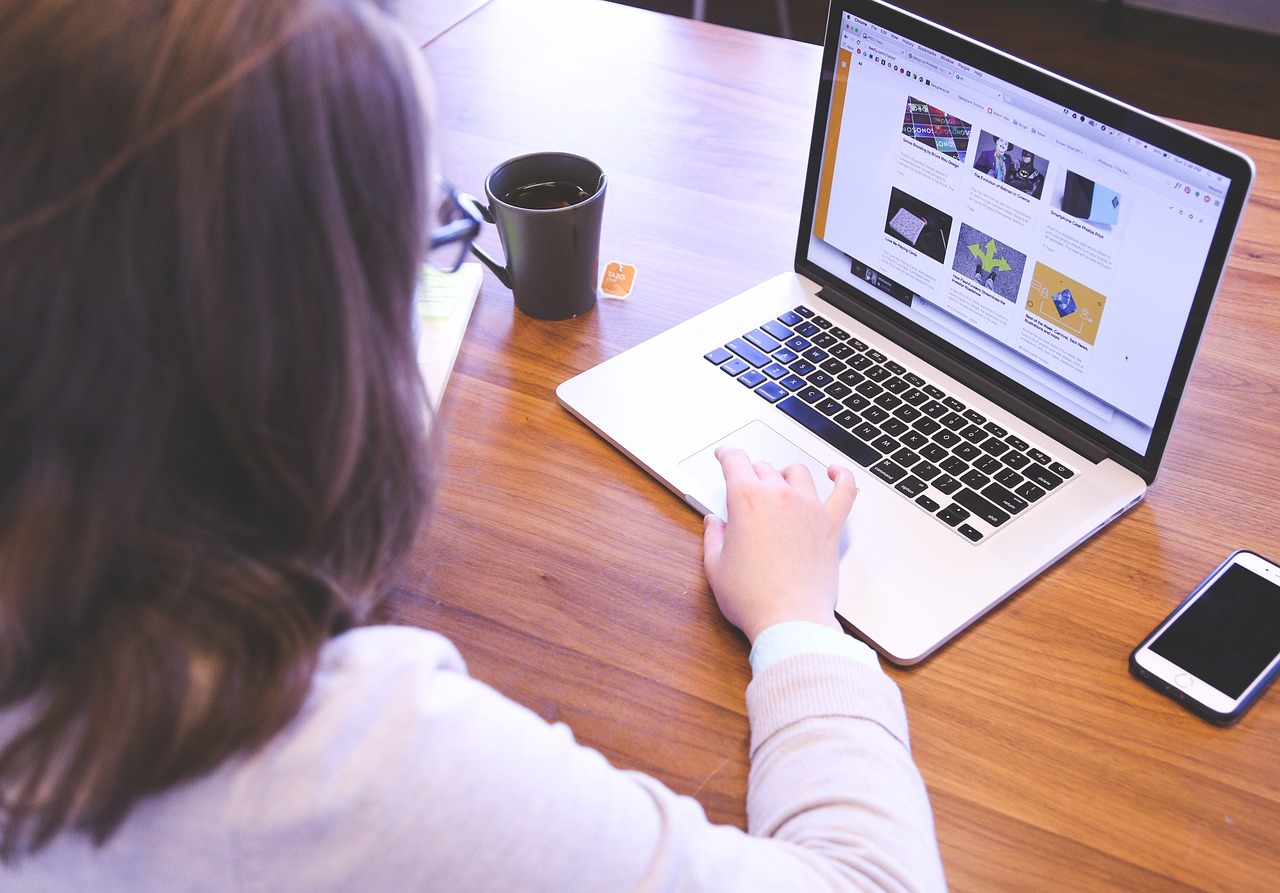
You can view videos in Panopto in a way that suits you best. Click on the information buttons on the interactive picture below to know the meaning of the options. Under the interactive picture, the options have been described once more.
The features described here work on your computer. For example, when you watch videos on your phone, you can’t see a teacher’s webcam video, YouTube videos embedded in the video, and web pages.
- You can navigate in a video by clicking on titles or slides in the table of contents.
- It is possible to search for keywords and phrases in the titles and slides, and the search results can be sorted in chronological order or by relevance. It is not possible to search from speech.
- The slide preview bar can be closed to display larger slides next to the video.
- You can watch videos at different speed (slow motion or up to two times faster).
- You can adjust the video quality.
- It is possible to switch between different streams (e.g. slides and screen).
- In side-by-side layout, the streams can be rearranged: for example, you can place slides to the left and video to the right. You can also switch a stream (slides or webcam image) to full screen and back. Use the respective key or double-click on a stream. Use the Esc key to return from full screen.
- Using the skip back button you can rewind the video by 10 seconds.
- If captions have been added to the video, it is possible to switch off the captions, if necessary.
Recording a video to Panopto assignment folder
Once the lecturer has created an Assignments folder in the course Panopto folder, students have the right to install the Panopto recorder and record or upload videos to the folder. By default, a learner’s recording in the assignment folder is visible only to the lecturer and the learner. By default, videos of other students stored in the Assignments folder are not visible (the teacher can change this setting if necessary).
If by default only the teacher and the learner can see the videos in the assignment folder, the learners has the option to change their video sharing rights, e.g. make the video available with a link (Anyone with the link option).
- When using Panopto recording for the first time, use the Moodle authentication to log in to Panopto https://panopto.ut.ee.
- Install the Panopto recorder (Windows or Mac) in your computer. If you need help with installing the Panopto recorder, please contact the IT helpdesk by email arvutiabi@ut.ee or phone 737 5500.
- Log in using Moodle authentication to Panopto recorder.
- Click Start new recording and in the dropdown menu, select the folder where you wish to record. The dropdown menu contains folders to which you have the right to record.
- Select Primary Source or Secondary Sources, depending on what you record. For example, select FaceTime HD camera as the primary source and Built-in display as the secondary source. If you only need to record the computer screen, select audio as the primary source, do not select video, i.e. choose None, and select Built-in-Display as the secondary source.
- Click on the large red Record button to begin recording your session.
- To end recording, click Stop recording. You will receive the notification Recording complete and you can upload the video to the Panopto server.
- By logging into Panopto in a browser (https://panopto.ut.ee), you can verify that the session has been recorded in the Assignment folder (NB: Uploading a long recording may take some time).
- Please note that you can only edit and delete submissions that you have uploaded to the server.
- After uploading it is recommended that you delete older recordings from your computer to save disk space. Mark the respective file in Panopto recorder and click Delete.
- If you do not need the Panopto recorder in future, you may remove it from your computer.
Video recording with Screencast-O-Matic
Screencast-O-Matic enables to record up to 15-minute videos for free and publish them in Screencast-O-Matic and YouTube, or download and publish them in another environment. To record the video, use the button Start recording on the program website, save the file WebLaunchRecorder.exe and install the recorder in your computer. Screencast-O-Matic enables to record the computer screen (e.g. presentation or another programme) with or without audio and video. You should use another video processing program to cut or edit the video.
The program website can be found at http://www.screencast-o-matic.com.
Example: http://www.uttv.ee/naita?id=18701
Video recording in Moodle
Some e-course text editors enable learners to record up to 2-minute video and audio clips (for example, for forum posting, submitting assignments, etc.). Place the cursor in the suitable place in the text editor, click on the button and start recording.